Table of Contents
Introduction
Learning how to get breading to stick to cod can feel like a culinary art, but it’s easier than you think. A crisp, golden crust not only adds delicious texture but also locks in the fish’s moisture and flavor. However, figuring out how to get breading to stick to cod consistently can be tricky if you don’t use the right techniques. In this guide, we’ll show you how to prepare, coat, and cook your cod for perfectly breaded results every time.
What Makes Breading Stick to Cod?
Understanding how to get breading to stick to cod begins with knowing the science behind it. Moisture, proteins, and proper layering are key factors. When done correctly, these elements ensure your breading stays intact during cooking, delivering the crispy texture you love.
The Science of How to Get Breading to Stick to Cod
Breading sticks to cod through a combination of moisture and protein reactions. Proteins in the fish surface, egg wash, and flour bond together during the breading process. When heated, these proteins firm up, locking the coating in place. Moisture also plays a role, as it helps the initial layer of flour adhere to the fish’s surface.
Why Moisture Balance Matters for Breaded Cod
Excess moisture on the cod’s surface can sabotage your efforts. Too much water makes the breading slide off, especially during frying. Conversely, a surface that’s too dry won’t hold the coating. Striking a balance by patting the cod dry and then introducing controlled moisture through an egg wash or buttermilk dip is crucial.
Protein Interaction for Perfectly Breaded Cod
Proteins in the cod itself are key to the process. By dusting the fish with flour first, you create a base layer that interacts with the egg wash. This combination provides a sticky surface for breadcrumbs or other coatings to adhere to.
Why Resting the Fish Helps When Breading Cod
Letting breaded cod rest for 10–15 minutes before cooking allows the coating to adhere better. This step is essential if you want perfectly breaded cod every time.
Essential Ingredients for a Strong Coating
The ingredients you choose for breading cod play a critical role in achieving a cohesive and crispy crust. Each component contributes to the texture, flavor, and adhesion of the breading. A basic coating system involves three key layers: flour, egg wash, and breadcrumbs, but there’s room for creativity based on dietary needs or flavor preferences.

The Core Ingredients
- Flour:
Flour is the first layer and serves as a base for the egg wash to adhere to. It creates a dry, slightly rough surface, allowing the next layers to stick better.- Types of Flour: All-purpose flour is the standard choice, but alternatives like almond flour or rice flour work for gluten-free diets.
- Tip: Lightly season the flour with salt, pepper, or spices for an additional flavor boost.
- Egg Wash:
Eggs act as the glue that binds the flour and breadcrumbs. When cooked, the proteins in the egg firm up, locking the breading in place.- Use whole eggs for a rich coating, or mix in milk or water for a lighter texture.
- Buttermilk is a fantastic alternative, adding tanginess and additional sticking power.
- Breadcrumbs:
Breadcrumbs provide the final layer and determine the texture of the crust.- Traditional Breadcrumbs: Fine and even for a classic crust.
- Panko Breadcrumbs: Larger, airy crumbs create a crispier finish.
- Alternatives: Crushed crackers, cornmeal, or ground nuts for unique textures and flavors.
Optional Seasonings and Add-Ins
Enhance your breading with spices, herbs, and cheeses to elevate the flavor. Popular additions include:
- Garlic or onion powder
- Paprika or cayenne for heat
- Fresh or dried parsley
- Grated Parmesan cheese for a savory kick
These ingredients can be mixed into the flour or breadcrumbs to evenly distribute the flavors.
Gluten-Free and Keto Alternatives
For those with dietary restrictions, there are plenty of alternatives to traditional breading ingredients:
- Flour Alternatives: Almond flour, coconut flour, or chickpea flour work well as substitutes.
- Breadcrumb Alternatives: Crushed pork rinds, ground flaxseed, or a mix of Parmesan and almond flour provide a keto-friendly crust.
Balancing Flavor and Texture
The key to a successful breading is striking the right balance between flavor and texture.
- Flavor: Season each layer—flour, egg wash, and breadcrumbs—lightly but thoughtfully.
- Texture: For a crunchier crust, use panko breadcrumbs or double-bread the cod by repeating the egg wash and breadcrumb layers.
Step-by-Step Guide: How to Get Breading to Stick to Cod
Follow this step-by-step guide to achieve perfectly breaded cod every time. These steps are essential for anyone wondering how to get breading to stick to cod and maintain a crispy, golden crust.

Step 1: Prepare Your Ingredients for Breading Cod
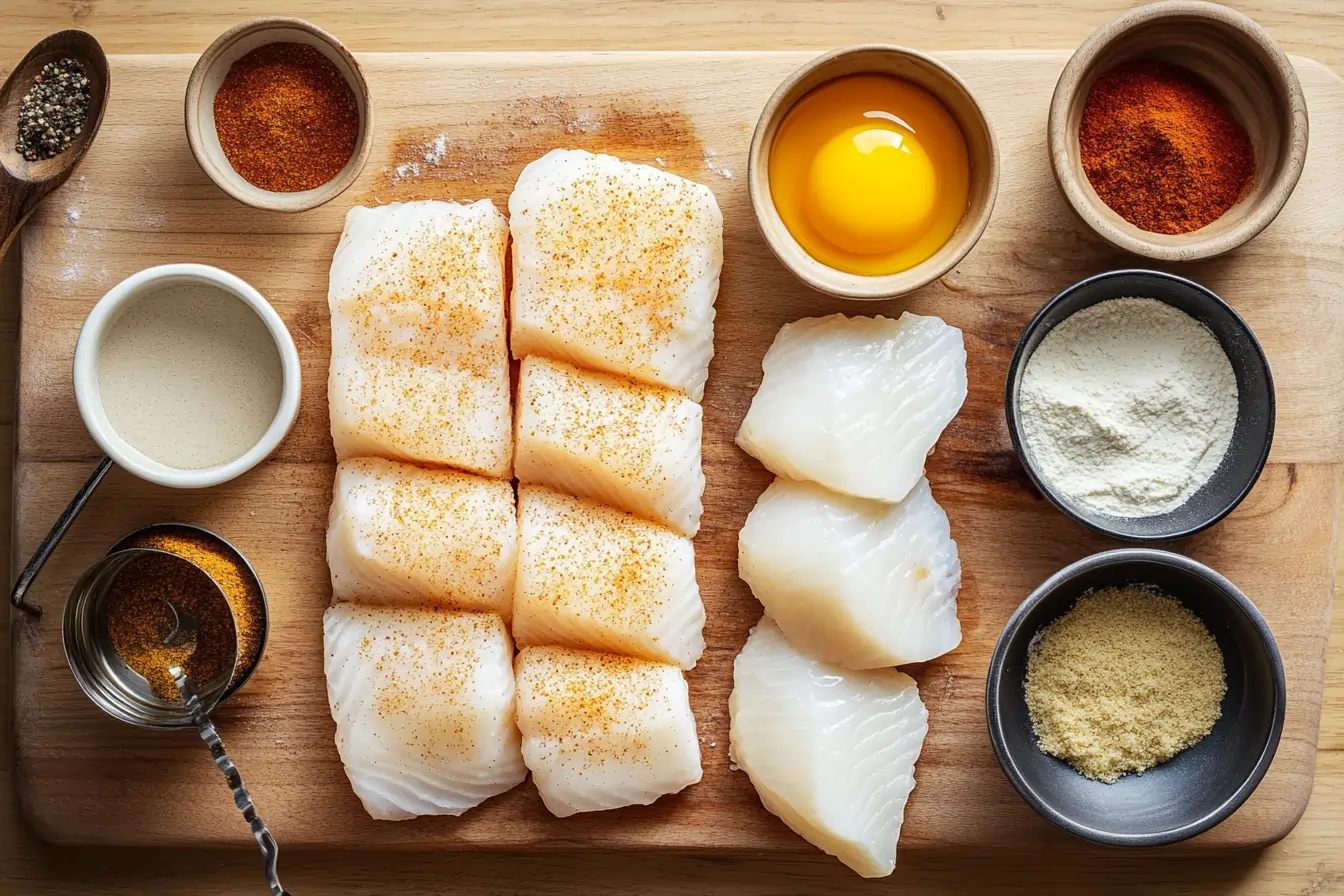
Before you start, gather and organize all necessary ingredients and tools:
- Ingredients: Flour, eggs, breadcrumbs, and optional seasonings.
- Tools: Three shallow bowls, a baking tray, tongs, and paper towels.
Having these ready helps streamline the process and makes it easier to focus on how to get breading to stick to cod.
Step 2: Season the Cod
Lightly season your cod fillets with salt and pepper. This step enhances the flavor of your breaded cod and prepares it for a well-adhered coating. For additional flavor, consider sprinkling the fish with garlic powder, paprika, or lemon zest.
Step 3: Dredge the Cod in Flour
Take each piece of cod and coat it lightly with flour. This step is critical for learning how to get breading to stick to cod properly.
- Technique: Press the fish gently into the flour, ensuring all sides are covered. Shake off any excess to avoid clumps.
- Purpose: Flour removes any residual moisture and provides a dry surface for the egg wash to adhere to.
Step 4: Dip the Cod in Egg Wash
Next, dip the floured cod into the egg wash.
- How to Do It: Use tongs or your hands to coat the fillet evenly, letting the excess drip off before moving to the breadcrumbs.
- Tip: If the egg wash doesn’t adhere properly, your fish might still be too wet, or the flour layer is too thin.
Step 5: Coat with Breadcrumbs
Transfer the cod to the breadcrumbs and press gently to coat all sides. This is a critical step to achieving perfectly breaded cod.
- Technique: Use your hands or a spoon to pat the breadcrumbs onto the fish for an even layer.
- Double-Breading Option: For an extra-crispy crust, repeat the egg wash and breadcrumb steps.
Step 6: Rest the Breaded Cod
Place the breaded cod on a baking tray lined with parchment paper. Let it rest for 10–15 minutes before cooking.
- Why Resting Helps: This step allows the breading layers to bond, reducing the chance of separation during frying or baking.
Step 7: Cook the Breaded Cod
Choose your preferred cooking method:
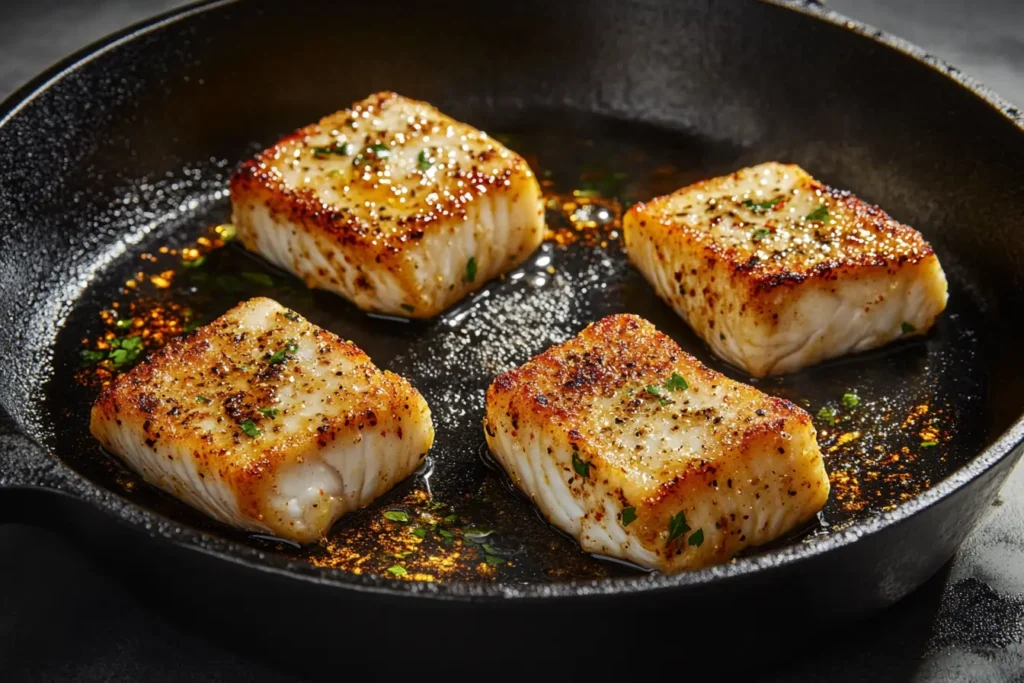
- Frying: Heat oil in a skillet over medium-high heat. Fry the cod for 3–4 minutes per side until golden brown and cooked through.
- Baking: Preheat the oven to 400°F (200°C). Place the cod on a greased baking tray and bake for 12–15 minutes.
- Air-Frying: Preheat the air fryer to 375°F (190°C). Air-fry the cod for 8–10 minutes, flipping halfway through.
Tips for Cooking Breaded Cod
How to Cook Breaded Cod Perfectly Every Time!
Cooking breaded cod to perfection requires careful attention to heat, timing, and technique. These tips will help ensure your cod is evenly cooked, crisp on the outside, and tender on the inside, no matter your cooking method.
Best Practices for Frying
Frying is one of the most popular methods for cooking breaded cod because it delivers an ultra-crispy crust. To achieve perfect results:
- Preheat the Oil: Use a neutral oil with a high smoke point, like canola or vegetable oil. Heat it to 350°F–375°F (175°C–190°C) for optimal frying.
- Don’t Overcrowd the Pan: Fry the cod in small batches to maintain consistent oil temperature. Overcrowding leads to uneven cooking and soggy breading.
- Flip with Care: Use a spatula or tongs to gently turn the fish to avoid breaking the breading.
- Drain Excess Oil: Place the cooked cod on a wire rack or paper towels to remove excess grease and maintain crispiness.
Baking for a Healthier Option
Baking is a healthier alternative to frying that still delivers a crunchy crust when done correctly.
- Preheat the Oven: Set the oven to 400°F (200°C) and line a baking sheet with parchment paper or foil.
- Use a Cooking Spray: Lightly spray the breaded cod with cooking oil to promote browning.
- Cook Evenly: Place the fillets in a single layer, leaving space between each piece.
- Monitor the Time: Bake for 12–15 minutes, flipping halfway through for an even crust. The fish is done when it flakes easily with a fork.
Tips for Air-Frying
Air-frying is an excellent option for those seeking a crispy crust with minimal oil.
- Preheat the Air Fryer: Preheat to 375°F (190°C) for even cooking.
- Arrange the Cod Properly: Place the fillets in a single layer to allow air circulation.
- Use a Light Oil Spray: A quick spray of oil enhances the crust’s texture without adding excess fat.
- Flip for Uniformity: Flip the cod halfway through the cooking process for consistent crispiness.
Maintaining Texture and Flavor
Regardless of the cooking method, a few extra steps can ensure the best results:
- Serve Immediately: Breaded cod tastes best when served hot, as the crust remains crispy and the fish stays moist.
- Avoid Overcooking: Cod cooks quickly; remove it from heat as soon as it becomes opaque and flakes easily.
- Add a Sauce or Garnish: Serve with tartar sauce, lemon wedges, or a sprinkle of fresh herbs for added flavor.
How to Prevent Breading Separation During Cooking
- Rest Before Cooking: Allow the breaded fish to rest for 10–15 minutes to strengthen the coating.
- Avoid Excess Moisture: Ensure the fillets are completely dry before breading.
- Handle with Care: Use tongs or spatulas gently to minimize disturbances to the crust.
Final Touches for Professional Results
To replicate restaurant-quality breaded cod, consider these finishing touches:
- Garnish Creatively: Use fresh parsley, dill, or a drizzle of flavored oil.
- Pair with Sides: Serve alongside coleslaw, roasted vegetables, or seasoned rice for a complete meal.
FAQs
Why does breading fall off cod during cooking?
Breading can fall off cod due to excess moisture on the fish, improper preparation, or handling errors. Ensure the fish is thoroughly dried before breading and follow the flour, egg, and breadcrumb sequence. Let the breaded cod rest for 10–15 minutes before cooking to strengthen the coating.
Can I bread cod without using eggs?
Yes, there are alternatives to eggs for breading cod. Buttermilk, yogurt, or a cornstarch slurry (a mix of water and cornstarch) can act as a binding agent. These substitutes work well for those with dietary restrictions or allergies.
What type of breadcrumbs work best for breading cod?
Panko breadcrumbs are ideal for a light and crispy crust, while traditional breadcrumbs offer a finer, denser coating. You can also use alternatives like crushed crackers, cornmeal, or gluten-free breadcrumbs based on your preference.
How do I keep breading crispy after cooking?
To keep breading crispy, drain the cooked cod on a wire rack instead of paper towels, as this prevents steam from softening the crust. Serve the fish immediately to maintain its texture, or reheat it in an oven or air fryer for a short time to restore crispiness.
Can I freeze breaded cod?
Yes, you can freeze breaded cod before or after cooking. To freeze uncooked breaded cod, place the coated fillets on a baking sheet in a single layer, freeze until solid, and then transfer to an airtight container. Cook directly from frozen or thaw slightly before frying or baking. For cooked breaded cod, reheat it in the oven or air fryer to regain its crispness.
What’s the best way to season breading for cod?
Season each layer of the breading process—flour, egg wash, and breadcrumbs—for maximum flavor. Common seasonings include salt, pepper, garlic powder, onion powder, paprika, and dried herbs. For a unique twist, add grated Parmesan cheese or lemon zest to the breadcrumbs.
Conclusion
Mastering the art of breading Fried Cod Fish opens the door to creating restaurant-quality dishes in your own kitchen. By following the proper techniques—starting with thorough preparation, using the right ingredients, and implementing a step-by-step process—you can ensure that your breading stays perfectly in place, delivering a satisfying crunch with every bite.


